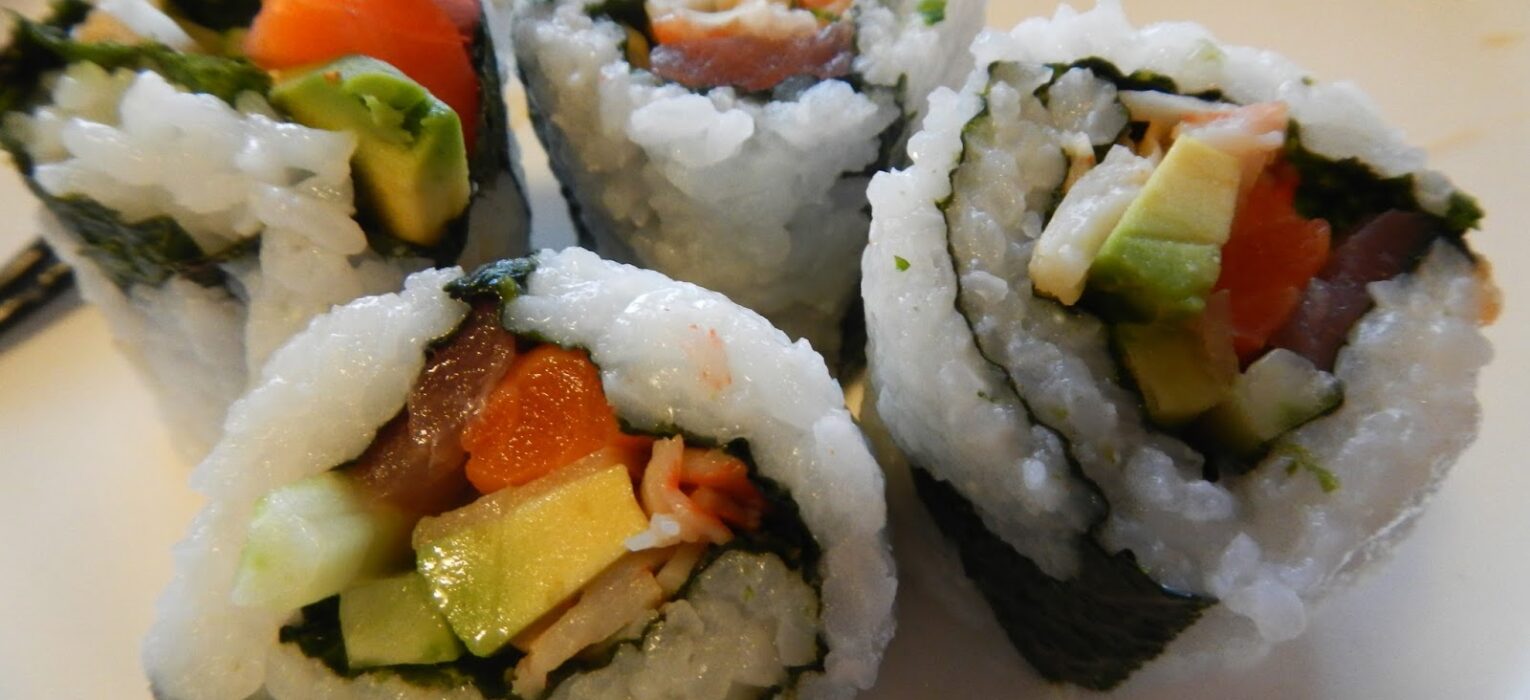
I don’t think I could truly say I lived in Japan (even if only for 5 weeks) if I didn’t make Japanese food in our house, especially sushi. But, I not only cooked Japanese style food on a regular basis but I managed to make sushi multiple times, we even learned how to make rolls. Nick and I both love sushi and so it was great to live in Japan and get all the items we needed to make delicious sushi at home for super cheap. We managed to find us a sushi mat, wasabi, Japanese mayo, seaweed (nori), real crab, sushi grade salmon, tuna, sticky rice, cucumber, avocado, etc. Although we had the materials we didn’t have quite the sushi roll making skills so our rolls didn’t turn out the most attractive, but they sure tasted delicious!
Lay out all the ingredients for your sushi rolls so that they are easily accessible to place on the seaweed (note the plastic wrap covering the sushi mat to keep the mat clean, a large plastic zipper bag works great too, just stick the mat inside the bag and seal)
Lay out the nori and spread the rice evenly over the paper to create a level layer keeping at least a finger width not covered on one end, then flip over so that the rice touches the plastic wrap and the empty nori is ready to be filled
Place the ingredients you want in a single row on one edge of the nori
Start the rolling process, make sure to tuck the ingredients away in the first roll
As you roll up the sushi, squeeze it tight to make the roll stick together, use the mat to help with that
Remove the roll and then slice into bite size pieces, to help make them equal start by cutting in the middle and then continuing to cut in the middle of the other parts


